


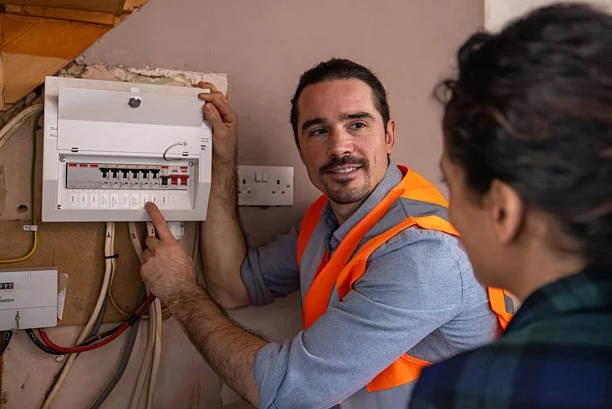
A full house rewire is one of the most important home improvement projects you can undertake. Whether youre renovating an older property, addressing outdated wiring, or preparing your home for modern living, a rewire ensures your electrical system is safe, reliable, and capable of meeting today’s energy demands.
For homeowners across Greater London, understanding what a full house rewire involves can make the process far less stressful. Knowing what to expect before, during, and after the work helps you plan ahead, minimise disruption, and ensure the project runs smoothly.
This homeowner’s checklist explains every stage of a full house rewire, from the initial inspection to the final electrical testing.
Why Might Your Home Need a Full Rewire?
Electrical wiring doesn’t last forever. Over time, cables, sockets, switches, and consumer units can deteriorate or become unsuitable for modern households.
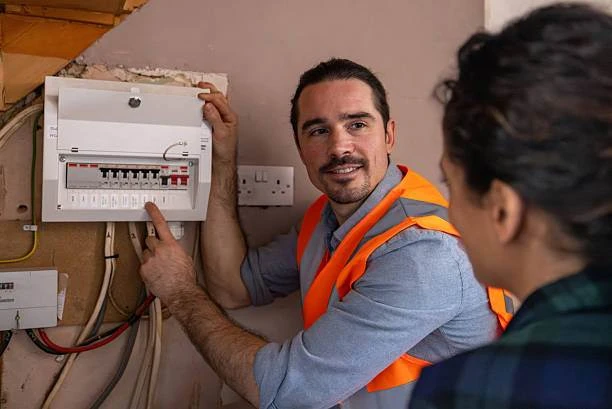
Many homes across Greater London, particularly Victorian, Edwardian, and post war properties, still contain ageing electrical installations that were never designed to power today’s appliances, home offices, or smart technology.
A full rewire may be recommended if:
● The wiring is over 30 years old.
● The property has an outdated fuse box.
● Electrical circuits frequently trip.
● There are signs of damaged or deteriorating wiring.
● You’re carrying out a major renovation or extension.
● An Electrical Installation Condition Report (EICR) identifies serious safety concerns.
Replacing outdated wiring improves safety while bringing your home in line with current electrical standards.
Step 1: Arrange a Professional Electrical Inspection
Before any work begins, a qualified electrician will assess your property’s existing electrical installation.
During the inspection, they’ll evaluate:
● The condition of existing wiring
● Consumer unit (fuse box)
● Earthing and bonding
● Socket and lighting circuits
● Overall electrical safety
This assessment allows the electrician to determine whether a full rewire is necessary or if more targeted upgrades would be sufficient. The inspection also provides an opportunity to discuss any additional electrical improvements you’d like to include.
Step 2: Plan Your Electrical Layout
A rewire is the perfect opportunity to improve the functionality of your home.
Before installation starts, consider:
● Additional plug sockets
● USB charging outlets
● Outdoor power supplies
● Security lighting
● Smart home controls
● Electric vehicle charging points
● Home office wiring
● Kitchen appliance locations
● Television and data cabling
Planning these upgrades now is much easier than making changes after the walls have been repaired and decorated.
Step 3: Prepare Your Home
A full house rewire is a major project that requires access to walls, ceilings, floors, and electrical fittings.
Homeowners should prepare by:
● Removing valuable items
● Protecting furniture
● Clearing access to walls
● Lifting carpets where required
● Taking down pictures and shelving
● Creating space around work areas
If the property is occupied, your electrician will advise whether it’s practical to remain in the home during the work or whether temporary accommodation would be more comfortable.
Step 4: Removing the Old Wiring
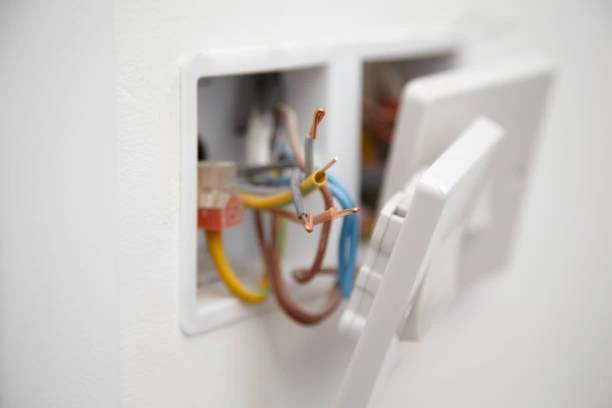
The first stage of the installation involves disconnecting and removing as much of the old electrical wiring as possible.
This may include replacing:
● Electrical cables
● Socket outlets
● Light switches
● Ceiling fittings
● Consumer unit
● Junction boxes
In some situations, sections of old wiring may be safely left in place if they are completely disconnected and inaccessible.
Step 5: Installing New Electrical Wiring
Once the old system has been removed, new cables are installed throughout the property.

Electricians carefully route wiring through:
● Walls
● Floors
● Ceilings
● Loft spaces
● Under floorboards
The new installation is designed to meet current UK wiring regulations while allowing for modern electrical usage. Dedicated circuits may also be installed for high demand appliances such as electric ovens, induction hobs, showers, or vehicle chargers.
Step 6: Installing New Sockets, Switches and Consumer Unit
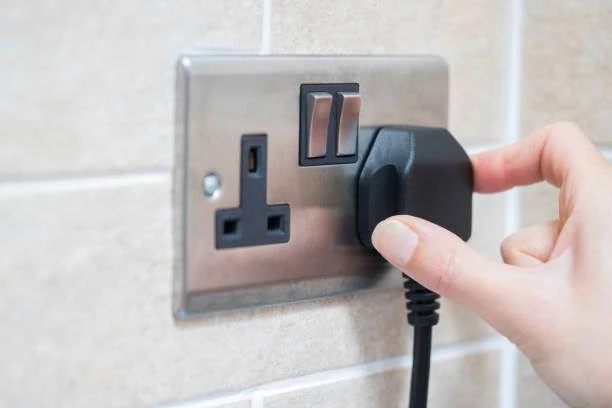
After the wiring has been installed, the electrician fits all visible electrical accessories.
These include:
● Double sockets
● Light switches
● Cooker connections
● Smoke alarms
● Consumer unit
● Data outlets
● Outdoor electrical points
Many homeowners also choose modern finishes that complement their interior design.
Step 7: Electrical Testing and Certification
Once installation is complete, the entire electrical system undergoes comprehensive testing.
The electrician checks:
● Circuit continuity
● Insulation resistance
● Earth fault protection
● Polarity
● RCD operation
● Overall system safety
After successful testing, you’ll receive an Electrical Installation Certificate confirming that the installation complies with current UK regulations. This documentation is important for insurance purposes, future property sales, and ongoing maintenance.
How Long Does a Full House Rewire Take?
The timescale depends on the size and condition of the property.
As a general guide:
● One-bedroom flat: 3–5 days
● Two-bedroom house: 5–7 days
● Three-bedroom house: 6–10 days
● Larger properties: 10 days or more
Additional work, such as plastering or decorating, may extend the overall project timeline.
Will There Be Disruption?
Yes, but careful planning can minimise inconvenience.
During a rewire, homeowners should expect:
● Dust from chasing walls
● Temporary loss of electricity
● Lifted floorboards
● Limited room access
● Noise from drilling and installation work
Many people schedule rewiring before moving into a property or alongside larger renovation projects to reduce disruption.
Benefits of a Full House Rewire
Although rewiring represents a significant investment, the long-term benefits are considerable.
These include:
● Improved electrical safety
● Compliance with current regulations
● Greater reliability
● Increased property value
● Better energy efficiency
● Additional sockets and lighting
● Capacity for modern appliances
● Support for future smart home technology
A professionally rewired property also provides greater peace of mind for homeowners and future buyers.
Choosing the Right Electrician in Greater London
Selecting an experienced electrician is essential for ensuring quality workmanship and long-term safety.
A reputable contractor should:
● Be fully qualified and insured
● Explain the rewiring process clearly
● Provide a detailed written quotation
● Carry out thorough testing
● Supply the appropriate certification upon completion
Working with a trusted local electrician ensures your home meets current electrical standards while reducing the risk of future problems.
Homeowner’s Rewire Checklist
Before your project begins, use this simple checklist:
● Arrange a professional electrical inspection.
● Confirm whether a full rewire is required.
● Plan socket, lighting and appliance locations.
● Discuss future electrical needs with your electrician.
● Remove furniture and valuables from work areas.
● Protect flooring where possible.
● Allow access to walls and ceilings.
● Prepare for temporary power interruptions.
● Keep all certification after completion.
Final Thoughts
A full house rewire is one of the best investments you can make in your property’s safety, functionality, and long-term value. While the process can be disruptive, careful planning and working with an experienced electrician will help ensure everything runs smoothly.
For homeowners in Greater London, understanding each stage of the rewiring process makes it easier to prepare your home and avoid unexpected surprises. Whether you’re renovating a period property or upgrading an ageing electrical system, a professionally completed rewire provides a safe, reliable foundation for modern living and peace of mind for years to come.
